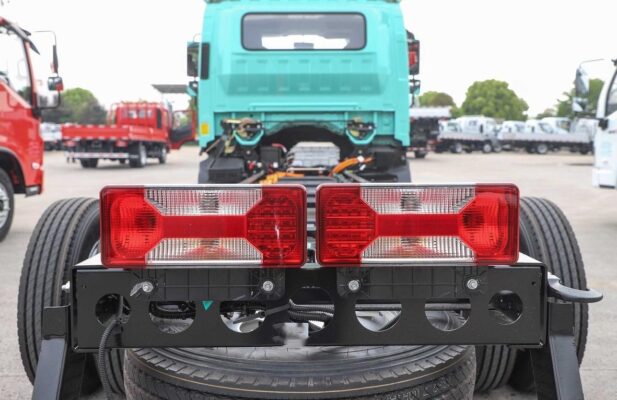
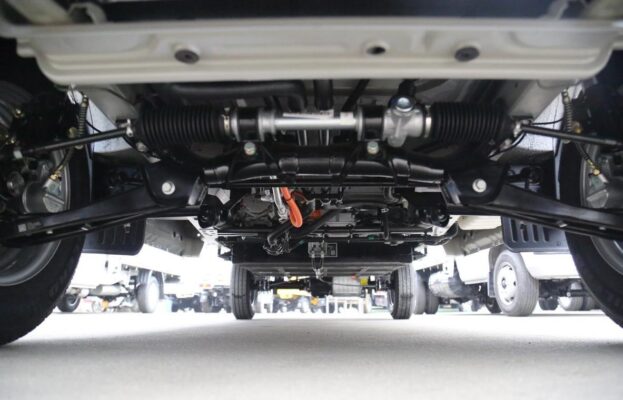
In today’s era of growing environmental awareness and the pursuit of sustainable transportation solutions, new energy vehicles have emerged as a significant force. As we all know, new energy vehicles are powered by electricity, and this electricity is stored in the power battery. But where does the electricity in the power battery come from? There are two main sources: one is fast charging, which requires direct charging with a fast charging pile; the other is slow charging, which necessitates the cooperation of a charger for the charging process. Today, we will take a closer look at the charger of new energy vehicles.

The charger is an essential component installed within the vehicle. When a new energy vehicle leaves the factory, it is typically matched with a charging cable. Once this charging cable is connected, household 220V electricity can pass through the charger to charge the power battery.

The charging system of a new energy vehicle is composed of several key parts. It includes power battery charging and lead-acid battery charging. Specifically, it is made up of a charging plug (socket), a high-voltage electrical box, an on-board charger, and a DC-DC converter. The on-board charger plays a crucial role in this system. With a maximum output power of 3.3KW, it belongs to the category of medium and high-power electrical appliances.
The working mode of the on-board charger is rather intricate. It converts 220V alternating current into a specific voltage of direct current (which may vary for different vehicle models, typically around 360V) through isolation transformation. This transformed direct current is then used to charge the power battery. This process requires precision and efficiency to ensure the safe and effective charging of the battery.

Now, let’s delve into the charging methods and steps in detail:
-
Turn off the ignition switch or pull out the key:
This step is crucial to ensure the safety of the charging process. By turning off the ignition switch or removing the key, the vehicle’s electrical systems are effectively deactivated, reducing the risk of electrical accidents during charging. مثال طور, if the ignition switch is left on, there could be a potential for electrical interference or damage to the charging system. -
Open the charging port and insert the charging gun into the charging socket:
At this moment, one can hear the sound of the main positive contactor closing. This sound indicates that the charging connection has been established and the charging process is about to begin. The charging port is designed to provide a secure and reliable connection for the charging gun. When the charging gun is inserted correctly, it engages with the charging socket, creating a pathway for the electricity to flow from the external source to the vehicle’s battery. -
Connect the three-core plug of the charging gun to household 220V alternating current:
This step connects the charging system to the power source. The three-core plug is designed to provide a stable and safe electrical connection. It consists of live, neutral, and earth wires, which ensure the proper flow of electricity and protect against electrical hazards. مثال طور, the earth wire provides a safety path for any electrical faults, reducing the risk of electric shock. -
Check whether the LED light of the on-board charger in the front compartment is flashing red:
If the LED light is flashing red, it indicates that the charging process is in progress. On the other hand, if it is flashing green, it means that the vehicle is not charging. This visual indicator provides a quick and easy way for the user to determine the status of the charging process. مثال طور, if the LED light is not flashing as expected, it could indicate a problem with the charging connection or the charger itself. -
When the instrument SOC shows 100% and there is no negative current or the charger flashes green every second, the charging is completed:
The state of charge (SOC) indicator on the vehicle’s instrument panel provides crucial information about the battery’s charge level. When the SOC reaches 100%, it indicates that the battery is fully charged. اضافي طور تي, the absence of negative current or the flashing green light of the charger serves as a confirmation that the charging process has been successfully completed. At this point, the vehicle is ready for use. -
After charging is completed, first unplug the three-core plug of the charging gun, and then unplug the charging gun from the charging socket:
It is important to follow the correct order when disconnecting the charging equipment. First, unplugging the three-core plug ensures that the electrical connection to the power source is cut off safely. Then, unplugging the charging gun from the charging socket completes the disconnection process. Note that reversing this order can lead to damage to the charging gun due to arcing. Arcing occurs when there is a sudden break in an electrical circuit, creating a spark. This can damage the charging gun and potentially pose a safety hazard.

In addition to understanding the normal charging process, it is also essential to be aware of the reasons for inability to charge normally and the corresponding judgment methods:
-
Whether the charging plug and socket are properly connected, whether there is any looseness, and use a clamp meter to measure whether there is current passing through:
A proper connection between the charging plug and socket is crucial for the charging process. If there is looseness or a poor connection, it can prevent the electricity from flowing properly. Using a clamp meter to measure the current passing through the connection can help determine if there is an electrical flow. مثال طور, if the clamp meter shows no current, it indicates a problem with the connection. -
Whether the on-board charger is working properly:
The on-board charger is a key component in the charging system. If it is not functioning correctly, it can prevent the battery from being charged. Signs of a malfunctioning on-board charger may include no LED light indication, abnormal noises, or overheating. مثال طور, if the on-board charger is overheating, it could be a sign of a problem with the internal circuitry. -
Whether the CAN module is working properly:
The CAN (Controller Area Network) module is responsible for communication between different components of the vehicle’s electrical system. If the CAN module is not working properly, it can disrupt the charging process. Issues with the CAN module may manifest as error messages on the instrument panel or a failure to initiate charging. مثال طور, if the vehicle’s computer system detects a problem with the CAN module, it may prevent charging from starting. -
Whether the BMS module is working properly:
The Battery Management System (BMS) module plays a vital role in monitoring and controlling the battery’s state. If the BMS module is not functioning correctly, it can affect the charging process. Problems with the BMS module may include incorrect battery charge level readings, overcharging or undercharging, or a failure to communicate with the charger. مثال طور, if the BMS module detects a fault in the battery, it may prevent charging to protect the battery from damage. -
Whether the charging fuse and contactor and main fuse are burned out:
The charging fuse, contactor, and main fuse are important safety components that protect the charging system from electrical faults. If any of these components are burned out, it can prevent the battery from being charged. Signs of a burned-out fuse may include a lack of power to the charging system or an error message on the instrument panel. مثال طور, if the charging fuse is burned out, there will be no electrical flow to the charger. -
Whether the wiring harness and wiring harness plugs are connected reliably:
The wiring harness and wiring harness plugs are responsible for transmitting electrical signals and power throughout the vehicle’s electrical system. If there is a problem with the connection of these components, it can disrupt the charging process. Loose or damaged wiring harness plugs can cause intermittent charging problems or a complete failure to charge. مثال طور, if a wiring harness plug is loose, it can result in a loss of electrical connection and prevent charging. -
Whether the instrument shows charging:
The instrument panel provides important information about the charging status of the vehicle. If the instrument does not show that the vehicle is charging, it could indicate a problem with the charging system. This may be due to a variety of reasons, such as a faulty sensor, a communication error, or a problem with the charging equipment. مثال طور, if the instrument panel shows an error message related to charging, it may require further investigation to determine the cause. -
Whether the contactors of the high-voltage electrical box are working properly:
The contactors in the high-voltage electrical box are responsible for controlling the flow of electricity to the battery. If these contactors are not working properly, it can prevent the battery from being charged. Signs of a malfunctioning contactor may include a lack of power to the battery or an abnormal noise coming from the electrical box. مثال طور, if a contactor is stuck in the open position, it will prevent electricity from reaching the battery.

In conclusion, understanding how the charger of a new energy vehicle works is essential for ensuring the proper operation and maintenance of these vehicles. By following the correct charging methods and being aware of the potential issues that can arise, users can ensure a safe and efficient charging experience. اضافي طور تي, regular inspection and maintenance of the charging system can help detect and address problems early on, prolonging the life of the vehicle and the battery.